
Sometimes the best projects are the ones that are quick, fun, and flexible enough to expand into bigger ideas. Recently, I put together a micro:bit project using the TM1637 4-digit LED display. What makes this build unique is not just the components, but also how I connected everything and housed it in a creative enclosure.

Why the TM1637?
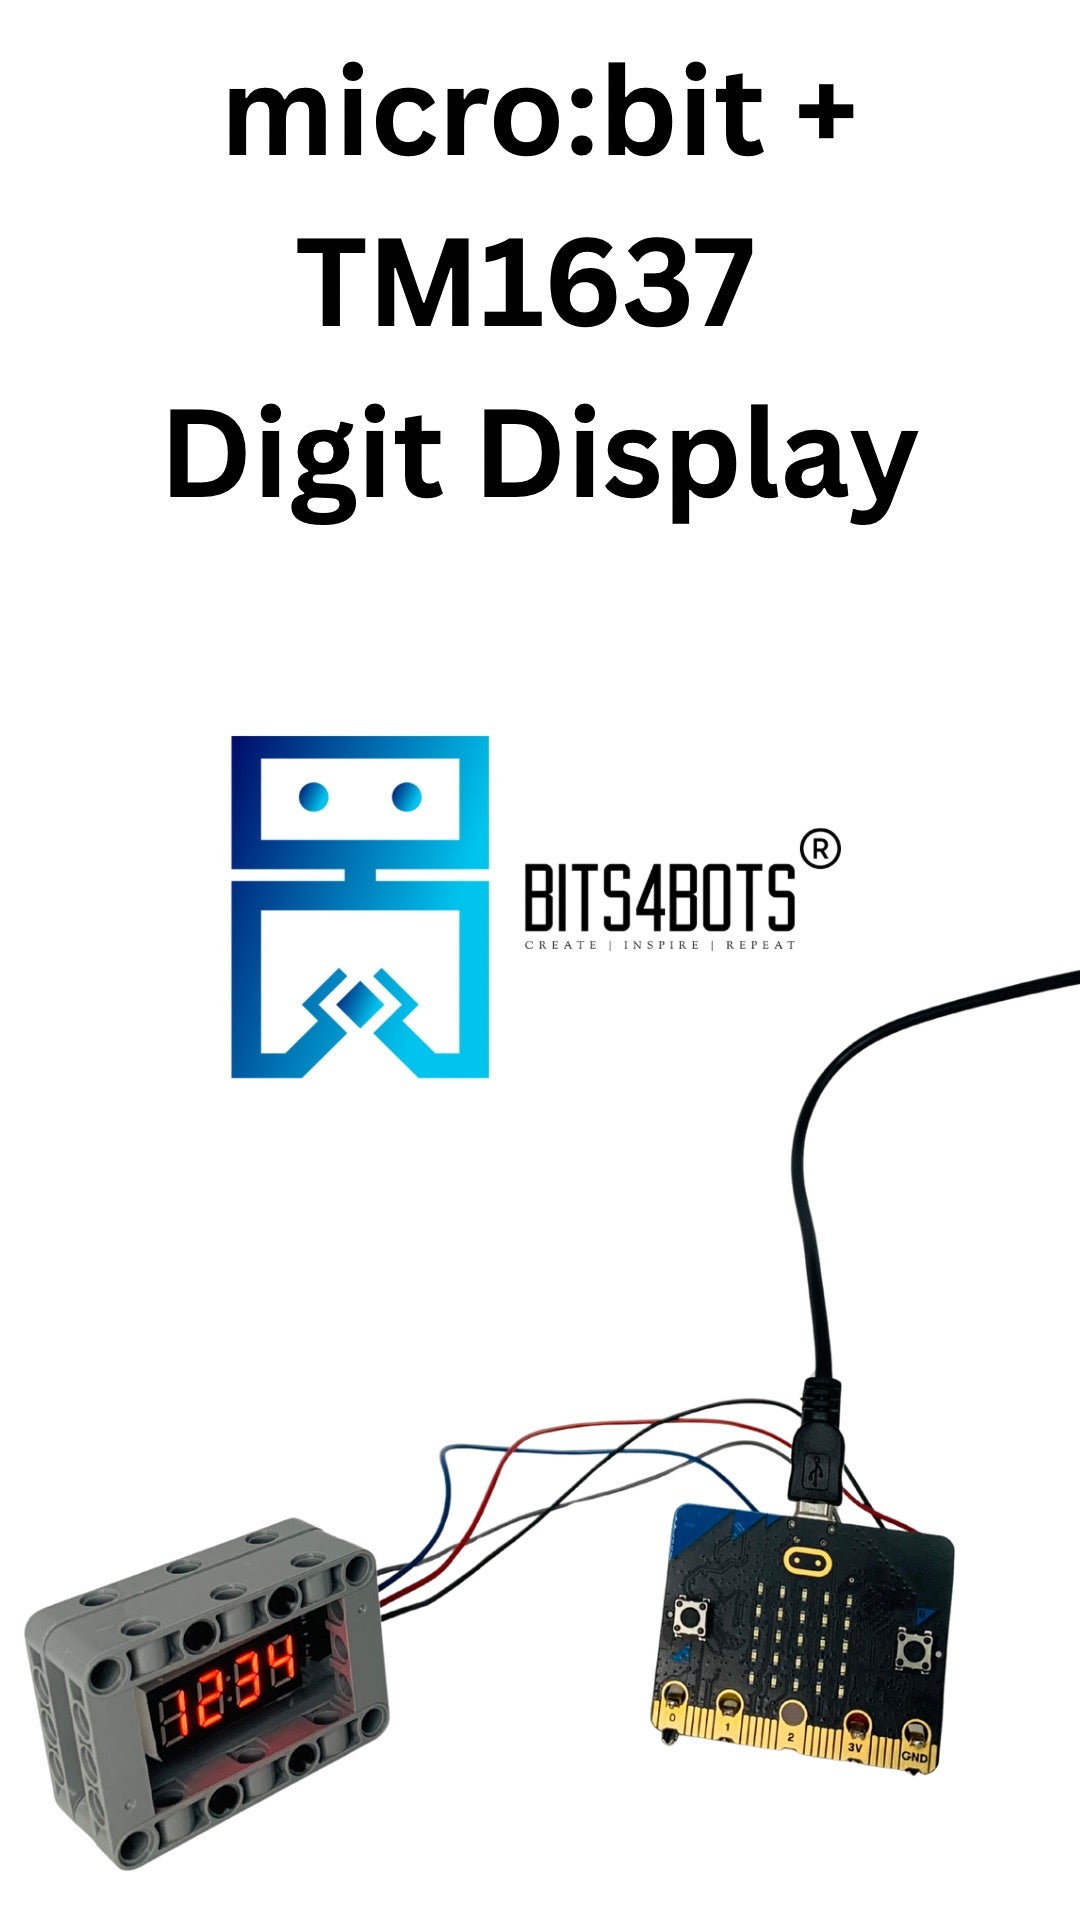
The TM1637 display is a great beginner-friendly module. It gives students an easy way to show numbers — whether it's for timers, counters, sensor values, or even simple games. Best of all, it only requires 4 pins to get started:
- CLK
- DIO
- 3V
- GND
That means less wiring confusion and more time for experimenting.
Easy Wiring with Alligator Clip to Dupont Jumpers
Instead of a breadboard, I used alligator clip to Dupont jumper wires. This makes setup super fast, especially in classrooms where students might get frustrated by tiny breadboard connections. Just clip, plug, and go! It's a small change that makes electronics more accessible to younger learners.
A Creative Enclosure with Technical Blocks
To make the project stand out, I built a custom enclosure using Technical Blocks (Lego®-compatible MOC pieces). Not only does it protect the components, but it also makes the project look more polished and exciting. Students love seeing their work inside something they built themselves — it blends engineering with creativity.

This is exactly the kind of project we include in our classroom STEM kits: simple builds that spark curiosity, but also leave plenty of room for students to invent, improve, and explore further.
Coding with MakeCode + My Custom Extension
For programming, I used Microsoft MakeCode along with my own custom extension https://github.com/Bits4Bots/weatherstation, the Bits4Bots Weather Station. This extension makes it possible to go beyond simple number displays. With it, students can:
- Show sensor readings (temperature, humidity, light levels, etc.)
- Create math games and practice basic operations
- Build mini weather stations or other real-world inspired projects

This way, a simple 4-digit display project becomes the starting point for endless STEM activities.

Why This Project Works for Students
- Simplicity: Only 4 pins to wire.
- Accessibility: Alligator clips make it easy for all ages.
- Creativity: Technical Block enclosures add a maker element.
- Expandability: MakeCode + custom extension unlocks new project ideas.
Next Steps & Challenges
If you're trying this project, here are a few challenges you can give students:
- Display the current temperature or light sensor value.
- Create a countdown timer for a game.
- Build a math quiz where the display shows a problem and students answer using the micro:bit buttons.
- Code it in Python or JavaScript instead of Blocks.
- Design and build your own custom enclosure using blocks, cardboard, or 3D printing.
Try It in Your Classroom
This project is a great introduction to coding, electronics, and creative design. With just a few wires and blocks, students can see real results on the display and then expand into more advanced projects with sensors and games.
👉 Want to bring this into your classroom?
Teachers can message us to learn about classroom sets with all the parts and lesson materials included. We're here to make STEM education hands-on, fun, and accessible.
Resources & Credits
- Bits4Bots Weather Station MakeCode extension for more advanced projects. https://github.com/Bits4Bots/weatherstation
- The TM1637 driver was originally adapted from the TM1637 MakeCode Extension on GitHub – credit to the original developers.